Kom je laat thuis, heb je niks in huis, en geen tijd om iets uit de vriezer te ontdooien, kun je altijd nog enchiladas maken, met wat bacon, worst, en kaas.
Voor 3 personen:
Arachideolie
1 ui, gesnipperd
50 g bacon, in blokjes
50 g droge worst, in kleine stukjes
2 ingemaakte geroosterde paprika’s
6 piquillo’s
1 blik gepelde tomaten
2 tl komijn, vers gemalen
1 tl picadillo of vergelijkbare zuidamerikaanse kruidenmengsel
1/2 bosje verse koriander
1 el cacao
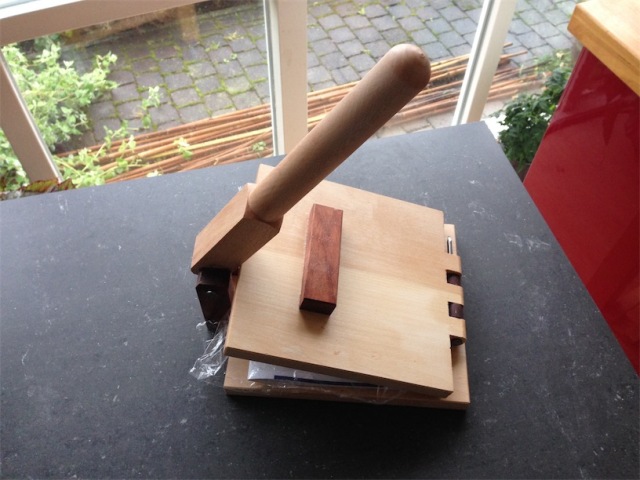
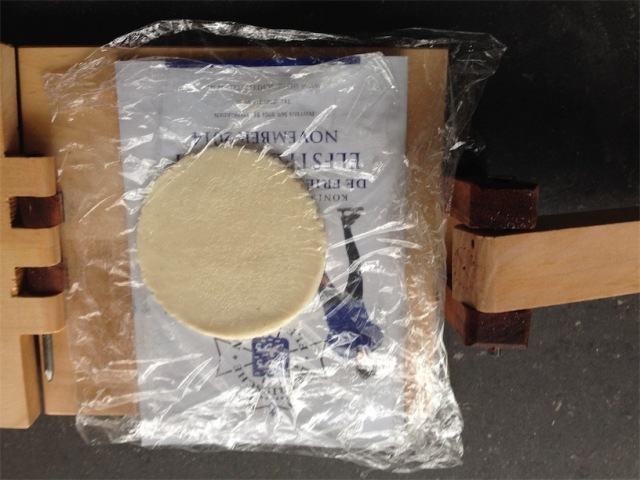
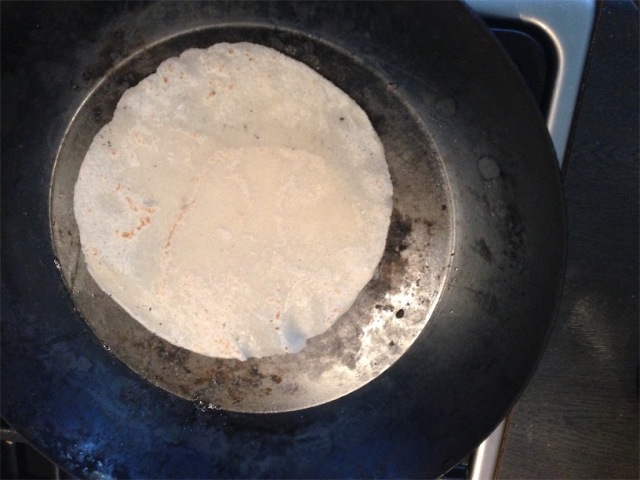
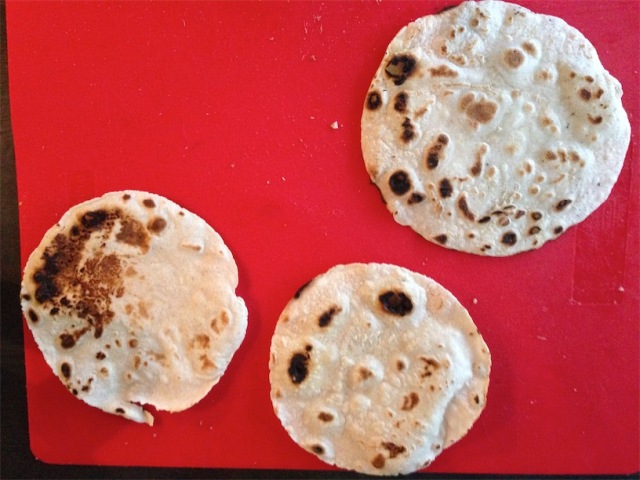
3 maistortilla’s
150 g geraspte kaas
Verwarm oven voor op 180 graden. Verhit de olie in een braadpan en fruit de ui. Voeg wat zout toe om verbranden van de ui te voorkomen. Voeg de bacon toe en bake een paar minuten. Voeg dan de worst toe, bak nog een paar minuten, en zet he t vuur dan laag. Snij de paprika en piquillos fijn en voeg toe. Dan de kruiden en specerijen. Draai de tomaten door een passeerzeef en voeg toe. Voeg fijngesneden koriander zoit, peper en cacao toe en laat 20 minuten sudderen.
Vet een ovenschaal in. Neem drie tortillas, vul ze met de stoof en vouw ze in drieen. Leg in de ovenschaal. Bedek ze met de kaas en zet het geheel 20 minuten in de voorverwarmde oven.
Serveer met salade naar keuze.